
Inbox & customer support
Assign or transfer a conversation
Check the conversation owner and queue before reassigning a chat.
Before you start
Login to the correct workspace and have the necessary permissions based on your role.
Step-by-step instructions
Follow these steps in order. You can keep this guide open while working in another Tautiva tab.
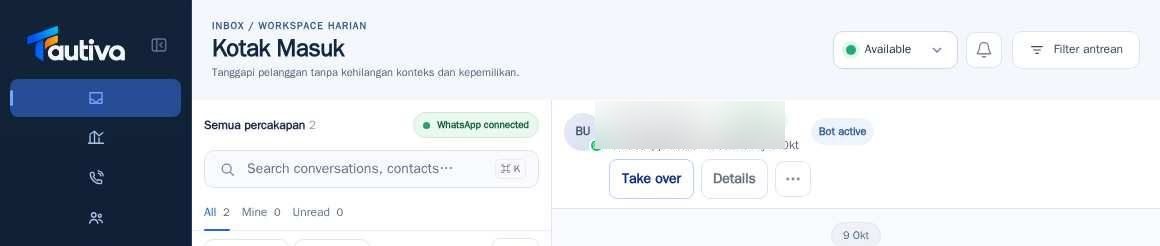
Open Inbox, then select the customer conversation that needs to be handled.
Click Details to open the right information panel.
Open the Customer tab. In the Routing section, read the current Queue and Assignee.
If you have the necessary permissions, select the correct queue or team member through the visible Queue or Assignee control.
Ensure the changes have been saved and the new responsible person's name appears.
Provide an internal note regarding the reason for the redirection so the recipient doesn't start from scratch.
PRACTICAL EXAMPLE
Example from daily work
Example: a discount request that requires a Supervisor's decision is transferred to the authorized agent, along with the context of the previous conversation.
This is a fictional training example. No real customer data was used.
Expected result
The action is understood and the results can be checked on the work page. For data changes, only perform them according to the SOP.
Important notes
- Queue redirection does not mean an automatic message is sent to the customer.
- If no agent can be selected, the supervisor needs to check the team status and response rights.
If something goes wrong
- The Assignee change button is not available: check your role and Team member availability.
- The target queue is not visible: ensure the queue is owned by the active workspace.
This guide describes the interface reviewed on 13 October 2026. Documentation testing did not send real messages, invite users, process payments, or modify real customer records.