
Inbox & customer support
Understand agent availability and capacity
Agent availability helps supervisors and the system see who is ready for new conversations.
Before you start
Login to the correct workspace and have the necessary permissions according to your role.
Step-by-step instructions
Follow these steps in order. You can keep this guide open while working in another Tautiva tab.
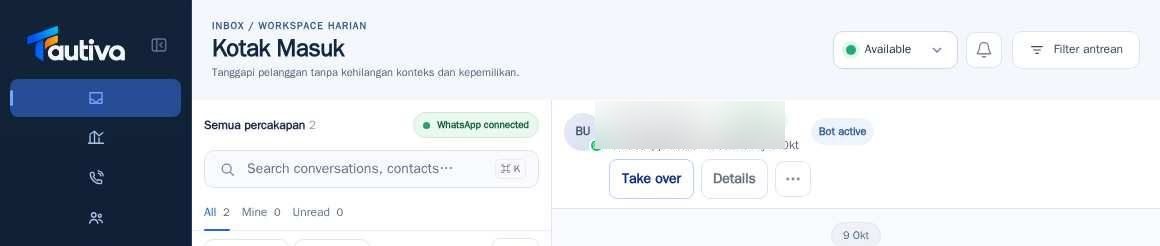
Open Inbox and look for the Agent availability button at the top right.
Check if the status shows Available or other options.
Open the control to read the applicable status options.
Choose the state that suits your work schedule and company rules.
Make sure your supervisor is aware if you are unable to accept new queues.
For the maximum chat limit rule, ask your supervisor to check Team > Availability, capacity & routing.
PRACTICAL EXAMPLE
Example from daily work
Example: an agent ending their shift changes their availability according to the SOP before leaving the application.
This is a fictional training example. No real customer data was used.
Expected result
Actions are understood and results can be checked on the work page. For data changes, only perform them according to the SOP.
Important notes
- The Available status is different from account access rights or the Active status in the routing list.
- If the presence service is not available, do not assume the system already knows your status.
If something goes wrong
- Presence service is temporarily unavailable appears: contact your supervisor if the status cannot be synchronized.
- Status changes but queues do not enter: check queue members, capacity, and routing mode.
This guide describes the interface reviewed on 13 October 2026. Documentation testing did not send real messages, invite users, process payments, or modify real customer records.