
Team & administration
Invite and manage workspace team members
Invite colleagues to the correct workspace and give them only the access they need.
Before you start
Admin workspace permission and correct recipient email address.
Step-by-step instructions
Follow these steps in order. You can keep this guide open while working in another Tautiva tab.
Open the Team menu.
Click + Invite member.
In the Email column, enter the email address of the prospective member.
Select Role: Admin, Supervisor, Agent, or Viewer according to their actual job.
Re-check the email address, workspace name, and permissions to be granted.
Click Create invite to send the invitation.
Check Pending invitations for invitations that have not been accepted.
PRACTICAL EXAMPLE
Example from daily work
Example: a new employee is tasked with responding to customers, so they are invited as an Agent, not an Admin.
This is a fictional training example. No real customer data was used.
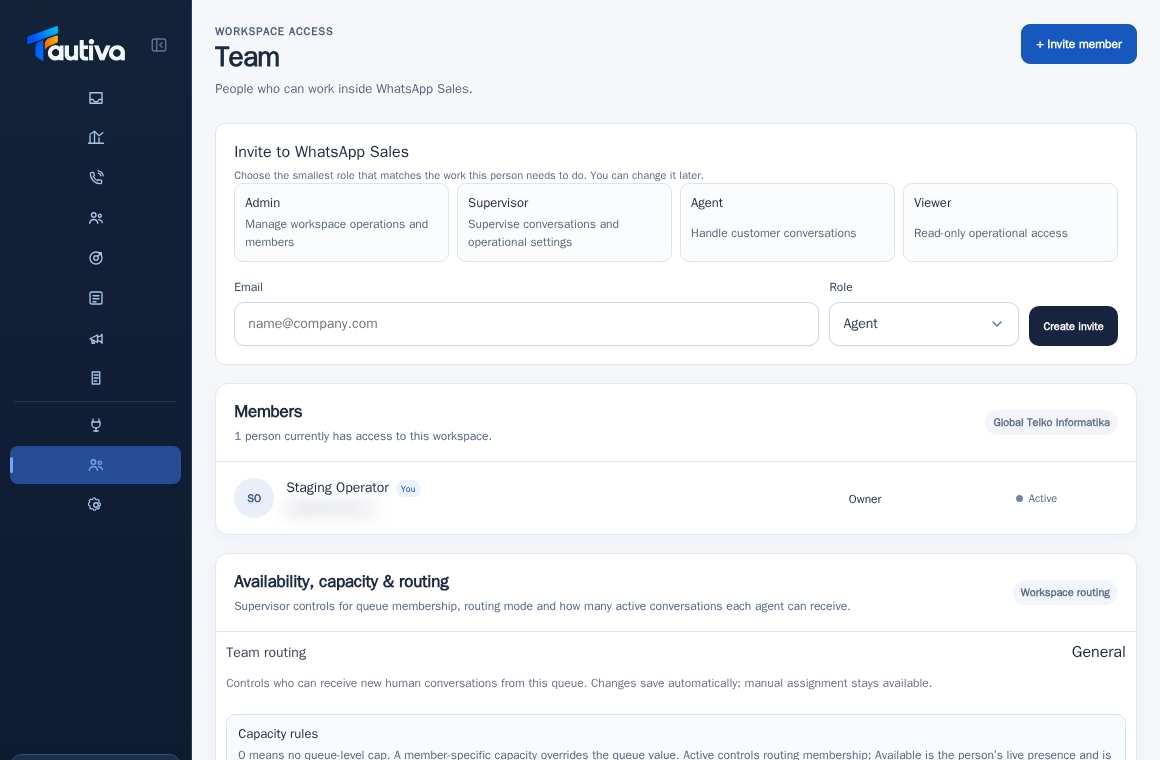
Expected result
Invitation is recorded and can be used by the recipient according to their status.
Important notes
- Invitations expire after seven days according to the displayed view.
- Avoid giving the Admin role to staff who only need Inbox access.
If something goes wrong
- Invitation not received? Check email spelling, spam, Pending invitations status, and validity period.
This guide describes the interface reviewed on 13 October 2026. Documentation testing did not send real messages, invite users, process payments, or modify real customer records.